Planning a trip to Havasupai? Below you will find your ultimate packing list for your upcoming trip!
Want to make sure that you don’t forget ANYTHING? Download my FREE packing list below:
Please note that some of the links in this post are affiliate links (at no extra cost to you).
The “No Duh” Items:
Tent: Most tents will work for Havasupai – the campground is extremely protected by canyon walls and trees. We brought a car camping tent and split it three ways so that it wouldn’t be too heavy.
Recommended gear: REI Half Dome or Nemo Hornet 2P (UL)
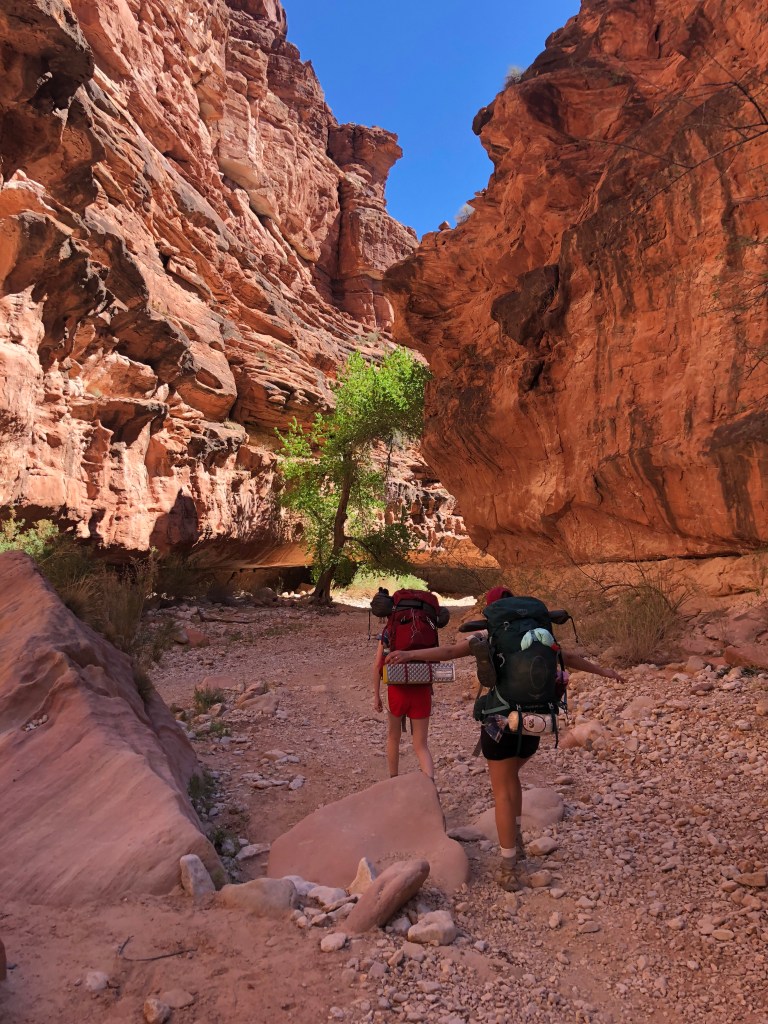
Backpack: Any backpacking backpack will do, so long as you are comfortable to carry it for 10 miles each way!
Recommended gear: REI Traverse 65 Pack or
Hyperlite Mountain Gear 3400 Southwest Pack (UL)
Sleeping bag: Depending on what time of the year that you go, you’ll have to decide what temperature sleeping bag that you want to bring. I run really cold at night, so I always bring a VERY LOW (think -15 degree) rated sleeping bag and then just use it as a quilt when it gets warm. Yes, this might be overkill, but ya girl has never had a night in the backcountry where I wished I had brought a warmer sleeping bag…
Recommended gear: Western Mountaineering Versalite or
Nemo Rave 15
Sleeping pad: No need for a heavy-duty sleeping pad – the campground is all established campsites on soft dirt. You’ll be fine with any blow-up or accordian sleeping bad out there on the market.
Recommended gear: Therm-a-Rest Z Lite Sol Ultralight Foam Backpacking Mattress or Therm-a-Rest NeoAir Xlite Ultralight Backpacking Air Mattress
Food: I’m a sucker for deydrated foods for dinner (Mountain House Beef Stroganoff is my JAM). I tend to usually just eat protein bars for breakfast (oatmeal is my arch nemesis), and will pack tuna and crackers or PB&Js for lunch. I straight up turn into an 11-year-old when I bring snacks for backpacking – think gushers, chocolate covered oreos, and rainbow colored goldfish.
Kitchen supplies: Depending on your food, be sure to bring the necessary kitchen supplies. I almost always bring dehydrated meals for my dinner, so my necessary kitchen items are a jetboil, gas, lighter, mug, and a spork.
Recommended gear: Jetboil, Camp Mug, Camping Spork
Toiletries: Don’t forget your toothbrush, toothpaste, contact solution, hairbrush, hair ties, hand sanitizer, and wipes!
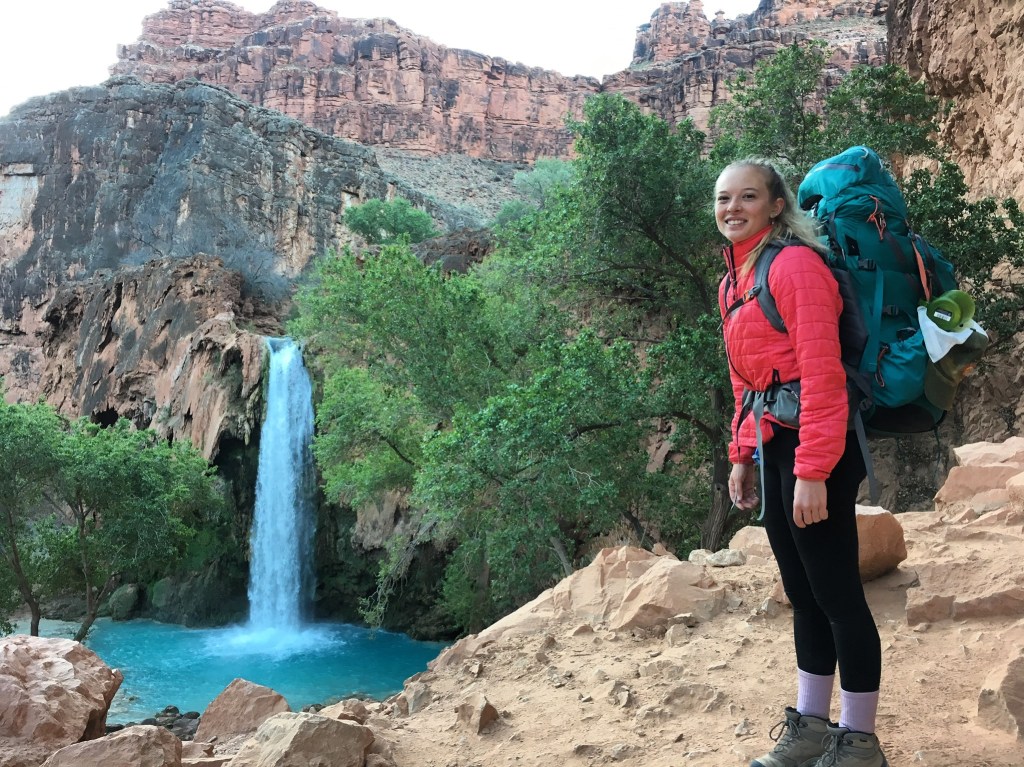
Weather-appropriate clothing: Depending on the time of year that you go, you’ll need to bring more or less layers. Be sure to check the weather before you go to make sure you have everything you need. Without fail, I always bring a hiking shirt (one for the whole trip – I know I’m going to smell regardless, no use in bringing a “clean” shirt to hike in every day), hiking shorts (ya girl does NOT hike in pants… and if she does, she chafes like crazy), sports bra, underwear, sleeping clothes (I like to sleep in clean clothes every night – this is usually a pair of leggings and a long sleeve t-shirt), socks, hat, gloves, a sweater (I run cold!) and a puffy!
Favorite brands: Athleta, Icebreakerz, Patagonia, anything made by REI
Items Specific to Havasupai:
Water shoes: Arguably, one of the most important items to pack for your trip down to Havasupai is water shoes! Although there are no water crossings from the trailhead down to the campground, if you plan on spending any time in the water, I highly suggest that you wear water shoes. The ground around the falls and near the swimming areas is quite rocky. If you plan on hiking down to Beaver Falls or the Confluence, water shoes are basically necessary. There were multiple water crossings on the way down to both, and it would have been pretty time-consuming to have to change out of boots on each of the crossings. I was on the fence about buying water shoes before my trip (I initially planned on wearing trail runners and just crossing the water in my shoes), but I’m so SO glad that I pulled the trigger and purchased water shoes for my hike.
Recommended gear: Keen Whisper Sandals
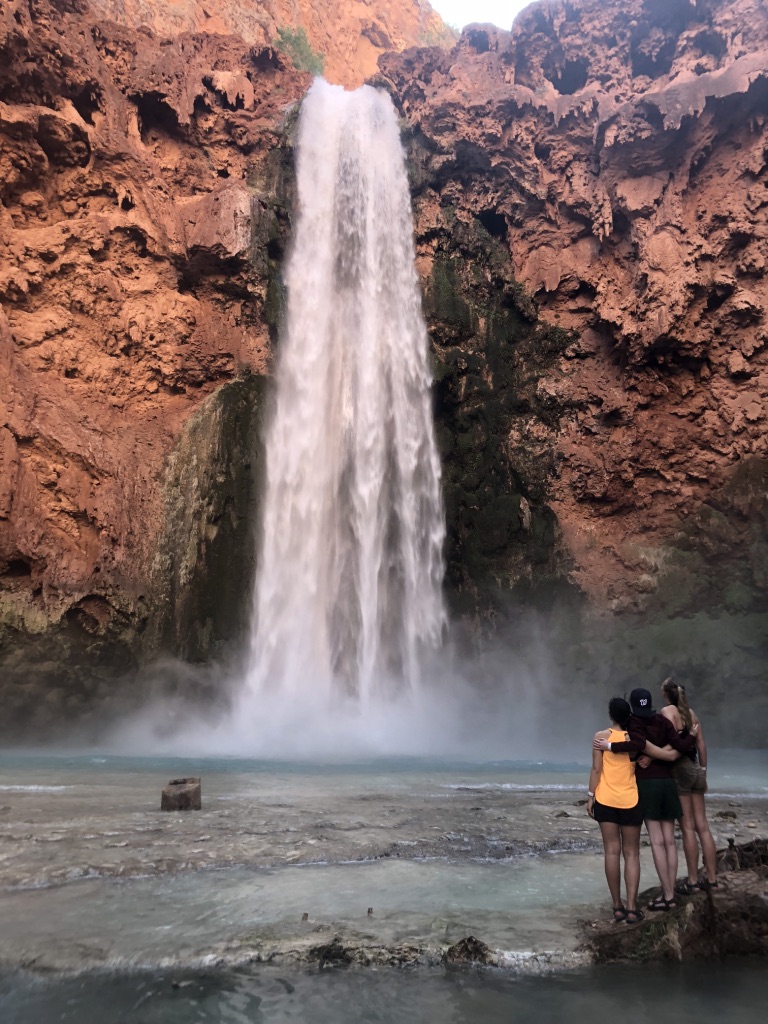
Waterproof phone case: I originally bought my waterproof phone case for a trip to Cancun a few years prior, but it really came in clutch during my trip to Havasupai! Although I didn’t take any underwater photos (not sure if you even could – the water tends to be a bit murky with all of the silt and calcium carbonate), the waterproof phone case gave me peace of mind when I took my phone out into the water and when we were getting soaked from the mist coming off the falls (especially Mooney!). Also, the phone case that I have has a neck strap, so I just kept my phone around my neck whenever we were hiking anywhere (it’s called fashion). Although I looked like a complete dweeb, it was was easier to carry it around my neck than have to keep on taking it out of my backpack. Prior to the trip, bringing a waterproof phone case was kind of an afterthought for me, but now I would put it at the top of my list!
Recommended gear: Vansky Floatable Waterproof Phone Case
Swimsuit + towel: If you do not bring a swimsuit and towel to Havasupai, you are officially doing it wrong. Even in the winter months, the water at Havasupai stays relatively mild. We visited in March, and the water was absolutely perfect. I could have swam all day! Be sure to also pack a lightweight towel. I personally love microfiber towels – they pack down very small and are great at drying you off.
Recommended swimsuits: Some of my favorite swimsuit companies include Ele Swims, Midori Bikinis, or Target (obvi).
Recommended towel: Dock & Bay Microfibre Towel [Disclaimer: I do not have this towel and cannot speak to the quality of it. I purchased my lightweight microfiber towel from a beach shop in Miami in 2014. The towel that I have linked, however, gets great reviews on Amazon and folds up into a handy pouch! If anyone has this towel and can give me a little insight as to the quality, please contact me.]
Day pack: So, I originally did not pack a day pack. I figured that if I needed to carry anything down to the Confluence, I would just empty my backpacking backpack and use that. On the way to Havasupai, however, we had to stop in an REI for a few last-minute items, and a REI Flash 18 pack caught my eye. I had some dividends to spend, so I figured that I would buy it, and it ended up being one of my favorite purchases from REI… ever!! The pack is super lightweight, comfortable to carry heavy(ish) loads, and can even double as a pillow at night! It also ended up getting way more use out of it than I was expecting – aside from taking it down to the Confluence, I also used it to trek from the campground to Havasu and Mooney Falls when we wanted to swim, eat dinner by the water, and take in the waterfalls by moonlight! Although it isn’t completely necessary, I would highly recommend taking a day pack.
Recommended gear: REI Co-Op Flash 18 Pack
Hammock: We brought a hammock, but, unfortunately, didn’t have enough time to set it up and really enjoy it! We hiked in the first day, hiked down to the Confluence the next, and then hiked out the next morning. We all agreed that if we were to go back, we would schedule a day just for hanging around the falls and swimming – where a hammock would be absolutely perfect.
Recommended gear: Eno Hammock with Eno Hammock Straps
Sunscreen: The hike down to Havasupai is very exposed – it is the Southwest! Be sure to load up on sunscreen no matter what time of the year you visit.
Sunglasses: Same rational as above (obvi).
Sturdy food storage: Although it isn’t necessary to keep your food in a hard-back food container (bear canister, bear bag, etc.), I would highly recommend it. The squirrels down at the campground are R U T H L E S S, and will stop at nothing (RIP bagels) to get your food. I bring my Ursack on every backpacking trip I go on (for pure convenience), and it legit ended up saving our food for us. I would definitely recommend bringing some kind of sturdy food storage that certain critters cannot get into!
Recommended gear: Ursack Major
Garbage bag: Be sure to bring a garbage bag! There is NO trash service in the village or the campground – you have to pack all of your garbage out. Unfortunately, we saw some people leave their garbage by the bathrooms. Don’t be those people. Instead, be the people who leave your campground cleaner than you found it! If you see any garbage left behind, be a good human and pack it out!
Cash: I usually don’t bring any cash on me when I go backpacking, but I had heard that there was fry bread for sale at the campground, so I threw some money into my bag before we left. We didn’t end up getting any fry bread, but we did grab a few sodas in the village on the way down! Also, bring enough cash to take the helicopter out if you plan on doing so.
Water bladder: There is no water for the first 8 miles of the hike, so be sure to bring enough water for the hike in and out of the village. I brought a 3-liter camelbak and had more than enough water, but I also went in March when it wasn’t too hot. If I would have visited in the summer, I probably would have brought more water.
Recommended gear: Camelback 3L Water Bladder
Sturdy Water Bottle: Drinking water is available at the campground from a spring. Even if you use a bladder (Camelbak, etc.), I would still bring a sturdy water bottle for when you fill up your water. The area around the spring was extremely muddy and required a bit of balance. I brought a hard water bottle for when I filled up, but kept it empty during the hike in and out. It isn’t completely necessary, but was very convenient. I would definitely bring one again.
Recommended gear: Nalgene Water Bottle
Water filter (optional): I brought a water filter to be safe, but didn’t end up needing it. As stated above, there is a spring at the campground where you can get drinking water. I have an extremely sensitive stomach, however, and the idea of drinking water that had not been filtered was a little nerve-wracking to me. Instead of treating my water, I winged it on the first day and had no problems, so I figured I wouldn’t need it for the rest of the trip. Fortunately, this proved true, and I didn’t have any stomach issues! I also brought the filter when we did our hike to the Confluence, but we all ended up bringing enough water for the whole hike.
Recommended gear: Sawyer Squeeze or MSR Miniworks
Items Not to Bring:
Alcohol: The Havasupai and Hualapai reservations are both dry, meaning that it is against federal law to possess, distribute, or consume alcohol on the reservation. Don’t believe me? Check out 18 U.S.C. §§ 1154 and 1156, which make it an offense punishable of up to one year in prison. Now, while I’ve seen people online smuggle alcohol in (and granted, it is pretty easy – no one checks your bags), don’t do it. As much as you (read: I) like a box of wine at the end of your hike, it isn’t necessary. Follow the rules of the reservation!
Recommended gear: Gatorade powder for a perfect
thirst-quenching drink at the end of the day!
Am I forgetting anything? Comment below or email me at meghikes1@gmail.com if you think so! Happy trails!

Thanks Meg! This is very helpful! Best of luck on all your future trips. 🙂
LikeLike