
In this post, you will find every single piece of gear that I took on the High Sierra Trail. Full disclosure – I am gear-obsessed, and I weighed the pros and cons of every single piece of gear multiple times before deciding to take it on the HST. Did I waste extra time? Probably. Was I happy with my gear set up? Oh yes.
Please note that most of the links in this post are affiliate links, where I get a small percentage of whatever you purchase at no extra cost to you. In no way did I purchase or bring these items for the purpose of making money off of them two years later – I’ve just since monetized my blog a bit and figure I might as well make a bit of affiliate marketing money if I’m going to be promoting the gear anyway!

Shared gear:
Tent: Big Agnes Copper Spur HV UL3 3-person Tent
We slept in the Big Agnes Copper Spur all week and were really happy with how it performed! Sleeping three to a tent is honestly just not a lot of fun (we rotated who was in the middle each night), but this tent was super spacious and had plenty of storage space. It was perfect for our three-person needs! It was nice and light to carry, and we loved how you pop up the rainfly without having to set up the whole tent – it came in clutch when we spent the day at Guitar Lake with no natural shade anywhere to be found!
Bear Canister: BV 500 and BV 450
Because there were three of us, we did not have enough space in one bear canister for all seven days. We thought that two BV500s would be a bit overkill, and since we were trying to save both space and weight, we decided to bring along the BV 450 as our second bear canister. It worked out perfectly, and I was super happy with our decision. I already had the BV450 for my weekend backpacking trips (which I love and would highly recommend – ain’t no reason for a full BV500 for only one night), so it wasn’t like I purchased this bear bin specifically for this trip. Honestly though, there were bear bins at (almost) every single one of our campsites, so with a bit of planning and flexibility, you could easily need less room in your bear bin than you would for a typical 7-day trip in the backcountry.
Water Filter: MSR Ex MiniWorks
If you’ve been around my blog for any time at all, you’ll probably know that I don’t trust any water filter that isn’t the MSR Ex MiniWorks, bulky as it may be. As always, was super happy with my decision to bring it along for this trip; but was less happy with my decision not to bring any kind of cleaning mechanism. Since the HST, you won’t find me on a backcountry trail without a sponge and syringe.
Stove: JetBoil + Fuel, and Lighter
The JetBoil has been my go-to backcountry stove for YEARS now. Since I only eat dehydrated meals or things that just need hot water added in the backcountry, I don’t have a need for a pocket rocket stove anymore. Could we have used a pocket rocket stove on this trip when we decided to make Apple Cobbler in the JetBoil on the last night as a little treat? Yes, yes we could have. Will my JetBoil ever be the same after making Apple Cobbler in the JetBoil on the last night as a little treat? No, no it won’t be. Did I have to buy a new JetBoil after the High Sierra Trail? Yes, yes I did!
Satellite GPS: Spot Satellite GPS Messenger
This was the first time that I had hiked with a GPS device and honestly, it was super nice. It felt really secure to know that we could communicate with “the outside” if something went wrong. It came in super handy in two notable situations – 1) we were able to get a map on our phone using the GPS service, so we could tell which stream we were at and whether there were more coming up or if we had to fill our water then; and 2) on our last day, when we could see smoke and were able to text our families to make sure there were no fires in the area. The version that I’ve linked wasn’t the exact one that we had – it looks like they have come out with another generation of the same make since we hiked in 2011. But I would definitely recommend!
Hygiene: Trowel, TP, Wag Bags, and Kula Cloth (Kulas not shared, obvi)
I’ve always heard that there are plenty of wag bags at the Crabtree Meadows Ranger Station so that you don’t have to bring your own. Good thing that we did, because there wasn’t any left in August of 2021! Unsure if they’ve since stocked up, but be aware that it is always a possibility!
First-Aid: First aid kit (including band-aids, neosporin, gauze, moleskin); medications – ibuprofen, immodium, diamox etc.
Individual Gear:
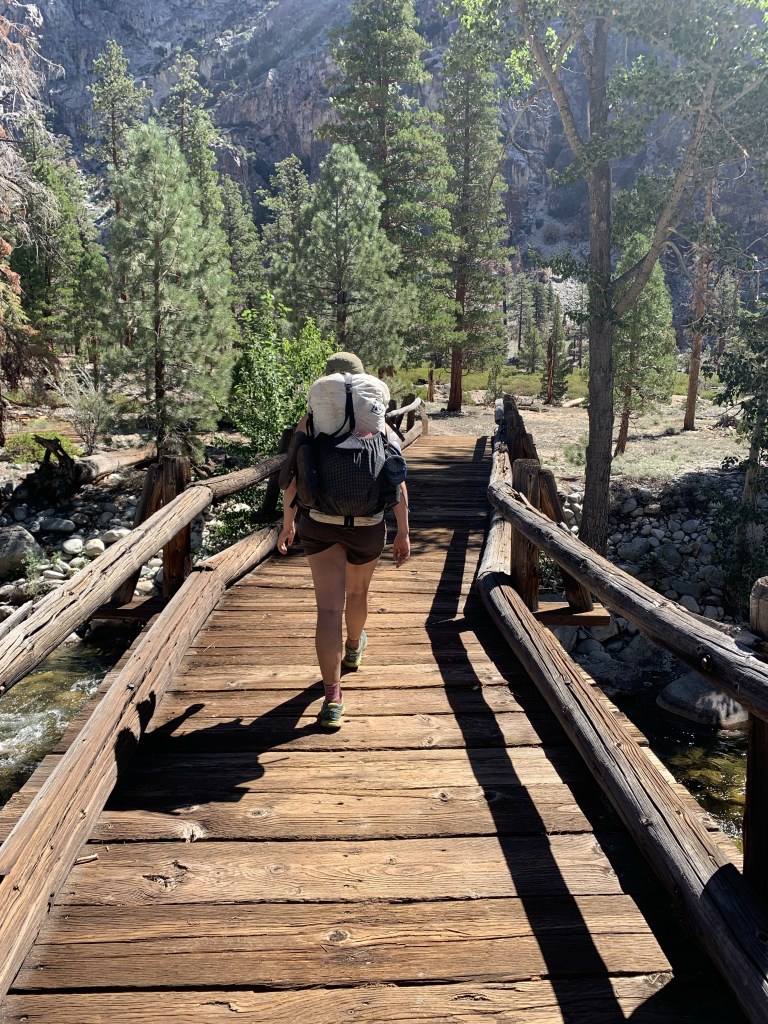
Backpack: Hyperlite Mountain Gear Southwest 3400
Ever since I bought my Hyperlite Mountain Gear Southwest 3400, I’ve loved it. The HST was not its first trip, and it had proven valuable long before our thruhike. It performed perfectly on our hike, and I wouldn’t have traded it in for anything! For a longer review, check out my long-form gear review on the Southwest 3400!
Sleeping Bag: Western Mountaineering Versalite Sleeping Bag
A few years ago, I “upgraded” from my beloved REI Habanera sleeping bag (literally the best sleeping bag I’ve ever had, unfortunately just too big + bulky for my new ultralight kit) to the Western Mountaineering Versalite sleeping bag. I run cold at night, so I always use a three-season bag, even though I really only backpack in one season. I did a lot of research before I bought my new bag, and even though it was a bit expensive, the warmth + weight was too good to pass up, so I went with the Versalite! It definitely isn’t as warm as the Habi, but for for what it (slightly) lacks in warmth, it makes up for in weight and size. Would absolutely recommend!
Day pack: REI Flash 18
On this trip, I decided to use the REI Flash 18 daypack as my sleeping bag stuff sack, so that we could have a pack to take up to the summit of Whitney after we had dropped our packs off at Trail Camp. My day pack is definitely a big bigger than my usual stuff sack, so it took up a bit more room, but other than that I noticed no difference. These day packs are so light that there was zero noticeable difference in weight, and I really liked being able to put my water, camera, and snacks in a backpack for the trek up Whitney. 10/10 I’d do it again!
Sleeping Pad: Sea to Summit Women’s UltraLight Insulated Air Sleeping Mat
I’ve searched high and low for a perfect sleeping mat, and I’ve definitely found it in this ultralight inflatable pad. Incredibly comfortable for an ultralight sleeping mat, doesn’t sound like a bag of chips every time you move, and very compact + light. for For a longer review, check out my long-form gear review on the Sea to SummitWomen’s Ultralight Insulated Air Sleeping Mat!
Pillow: Sea to Summit Aeros Ultralight Pillow
It is a pillow that hooks into my sleeping pad, and is easy to blow up/deflate to the perfect size. You can get a cheaper one off Amazon, but I really love this one.
Headlamp: Some cheap headlamp from the dollar store
Funny story: one time I asked my Grandma for a new headlamp for my birthday (she is the kind of Grandma that gets very upset if you do not provide her with a bullet pointed list for birthday and Christmas, prayers welcome for me n my cousins). On my list, I wrote “new headlamp, doesn’t need to be expensive.” She was put-off with the fact that I didn’t write what KIND of headlamp I wanted, so she literally got me a headlamp from the dollar store. Now, that headlamp has worked just fine for over 3 years – I can’t say I have any complaints! BUT on the last day of our thruhike, when we woke up at 3am to start hiking Whitney, my batteries were pretty much shot (which is not a problem with the headlamp, it is a problem with the batteries and my decision to not bring any extra). I’ve recently invested in a Black Diamond rechargeable headlamp (being shipped as I type this right now!), and I’m super excited to try it out, especially on long trips when I bring a powerbank anyway! If I had to do it all again (or rather, if I have the privilege of doing it all again!!), I would definitely swap out this piece of gear for a bit of piece of mind (and no extra batteries).
Water bottles: Two SmartWater Liter Bottles + Platypus Flexible Waterbottle
I filled two SmartWater bottles (1 liter each) every day and then had an extra 2-liter flexible waterbottle for extra capacity when necessary. This put me at a 4-liter capacity, which worked out well for our long carries!
Toiletries: Mini hair brush, hair ties, toothbrush + paste, wet wipes, sunscreen; eyeglasses, extra contacts, contact solution
Utensils: Camping mug; spork; pocket knife
Clothing:
Jackets: Patagonia Down Jacket and Kuhl Prism Jacket
Initially I was only going to bring my Patagonia Down Jacket, but then flip-flopped a bunch and ended up bringing both my Patagonia puffy and the Kuhl Prism Jacket, which is fleece. I figured I’d rather carry extra weight than be cold, and it ended up working great. There were multiple times during the trip that I wore both jackets at the same time. Worth the weight!
Shoes: Solomon X-Mission 3 Trail Running Shoes
I am so sad to see that my hiking/running shoes are not being made anymore!! I bought my first pair in 2013 and then bought an identical pair in 2017 (literally same color and everything) because I loved these shoes so much. I literally told my friend probably two months ago that I needed to replace them and was going to buy the same exact pair again. And now, as I write this on September 26, 2023, I have officially found out that they have been retired from Solomon’s repertoire of shoes. A sad, sad day indeed.
A few reasons why I loved these shoes and will always advocate for trail running shoes over bulky hiking shoes for backpacking: so much lighter (in both weight and temperature); less blisters from your heavy pack bearing down on your feet; if they get wet, they dry so quickly; honestly just more comfortable. Debating getting these as my next pair (I’m a big Solomon girlie), but will need to do a bit more research/try some on before I decide.
Raincoat: REI Women’s Rainer Rain Jacket
We got no rain on our trip, which was fine! And (un)fortunately, I was able to use my raincoat on day 2 for sun protection, so the weight didn’t go to waste.
Hiking clothes: Tank top, shorts, two pairs of hiking socks
To hike, I brought a wide-shouldered tank top, and a sturdy pair of hiking shorts. I tried to look for the links for both, but I got them so long ago (like pre-2020), that I don’t think they exist anymore. I got them both from Atheta though – would definitely recommend checking them out for your hiking clothes. I brought two pairs of hiking socks and altered between the two each day. Yes, they got extremely dirty. No, I can’t say that I cared.
I would say that I wished I had brought a long-sleeved sunshirt for our super sunny days. I had brought a long-sleeve to sleep in, but didn’t want to wear it hiking (I can’t sleep in dirty clothes), so I ended up using my rain jacket for protection. Worked out fine but it was super hot. Would have rather had something more lightweight!
Buff: BUFF Adult CoolNet UV Half, Multifunctional Neckwear and Headband
We all wore matching buffs. We all voted on our favorite pattern. It was fun. Unfortunately I did not get a great picture of us three wearing the matching buffs. Erin was the best at styling/utilizing it.
Sun protection: REI Screeline Cap & Goodr Sunglasses
If you aren’t wearing Goodr sunglasses for your hiking trips already, I would highly highly recommend doing so. Super cheap (price-wise); super sturdy; and super fashionable.
Sleeping clothes: Long sleeve t-shirt, leggings, one pair of long socks
These also gave me additional warmth when I wore them as we summited Whitney!
Undergarments: Daily underwear; two sports bras; and one bathing suit bottom
Warmth: Beanie, feenie, & pair of gloves
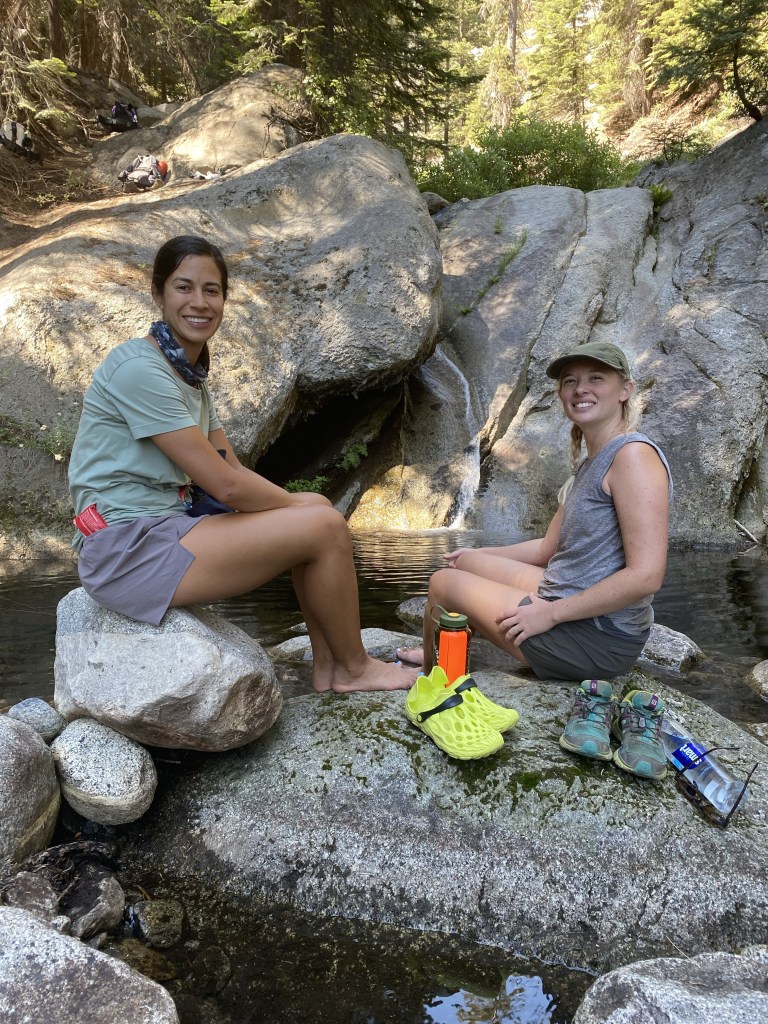
Camp shoes: Mary Jane Crocs
Not gonna lie, there are a lot of camp shoe haters out there… and honestly, I cannot figure out why. I cannot even express how good it feels to finally get to camp and throw off those sweaty hiking shoes that you’ve been wearing all day long. My favorite camp shoes are a pair of Mary Jane Crocs. I actually received these as a joke-gift from my sweet college roommate, Paige, who absolutely LOVED crocs (much to my disgust). I gotta say though – I’m a changed woman. I now never go on a backpacking trip without my crocs. They are perfect for hanging around the campsite in or changing into after you are done with your hike. These crocs are lightweight, and since they have a strap around the top of your foot, stay on at all times! Unfortunately, the pair that I have are discontinued, but my friends both have these Merrell Water Shoes (hilariously both in lime green), which pretty much act the same as my Mary Jane Crocs, and they both love them.
Non-Essentials:
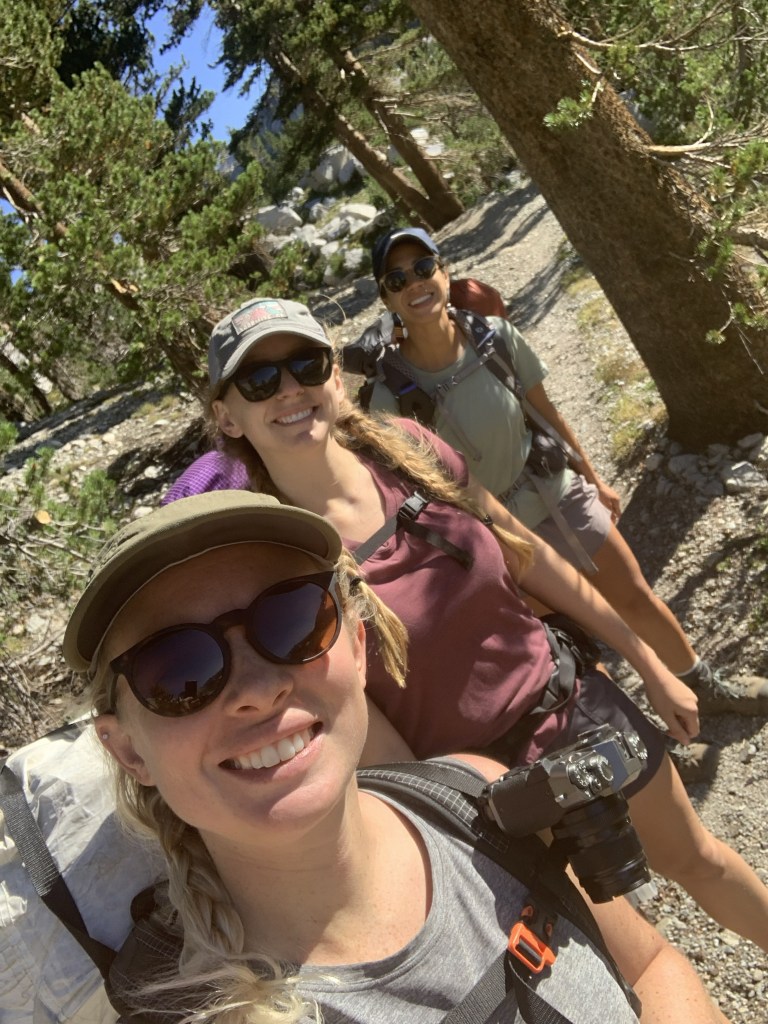
Camera: Fujifilm X-t30 ii and XF50mm f/2 lens; PeakDesign Camera Clip
Am I happy with my photos? Absolutely. Am I happy with my camera setup on the trail? Mmm, yes and no. It’s funny – when I hiked the JMT in 2015, I brought a little point and shoot Nikon digital camera, and I wished I had brought a fancier camera “so that I could really take time to get some great photos.” Hot tip – when you are thruhiking, you (probably) are not going to want to take time to get some great photos. You are going to want to take that time and get to your campsite because you are tired and hot, and then when you get to that campsite, you are going to want to sleep because you are tired (but thankfully, less hot). At least, that was my experience. Not a single astrophotography photo was taken, because I was asleep every night before the stars came out. I appreciated my desire to want to get fabulous photos, but I underestimated the effort that I was willing to give to get said fabulous photos. Next time, I think I would take a smaller camera so that I could easily put it into my hip pockets (the shoulder clip was honestly just a lot for me – wish I could have just kept it in my pocket but the lens was too big). I’d probably go with my Fujifilm x100v next time (which I’ve taken on recent trips and been super happy with).
Paper Journal: Brought one of these on the JMT and loved them. Loved them just as much on the HST. So fun to look back on afterwards!
Kindle: Learned my lesson from the JMT and did NOT take a paperback book with me, was very pleased with my decision.
iPhone 10
Portable Charger: Ankur Powercore
And there you have it! The too-long; too-detailed; and too-wordy packing list for my trip on the High Sierra Trail! Have a question, and aren’t afraid of another too-long, too-detailed, or too-wordy response? Comment below or email me at meghikes1@gmail.com!
More Posts on the High Sierra Trail:
Day-by-day Journal:
Day 1: Crescent Meadow to Bearpaw Meadow
Day 2: Bearpaw Meadow to Precipice Lake
Day 3: Precipice Lake to Moraine Lake
Day 4: Moraine Lake to Junction Meadow
Day 5: Junction Meadow to Crabtree Ranger Station
Day 6: Crabtree Ranger Station to Guitar Lake
Day 7: Guitar Lake to Whitney Portal
Planning:
Your Quick and Dirty Guide to the High Sierra Trail
My Complete Packing List for the High Sierra Trail
The High Sierra Trail on Film
Getting To and From the High Sierra Trail
Tips and Tricks for the High Sierra Trail

Pingback: Day 4 of the High Sierra Trail: Moraine Lake to Junction Meadow – MEG HIKES
Pingback: The High Sierra Trail on Film – MEG HIKES
Pingback: Day 3 of the High Sierra Trail: Precipice Lake to Moraine Lake – MEG HIKES
Pingback: Day 2 of the High Sierra Trail: Bearpaw Meadow to Precipice Lake – MEG HIKES
Pingback: Day 1 of the High Sierra Trail: Crescent Meadow to Bearpaw Meadow – MEG HIKES
Pingback: Tips and Tricks for the High Sierra Trail – MEG HIKES
Pingback: Getting To and From the High Sierra Trail – MEG HIKES
Pingback: Day 7 of the High Sierra Trail: Guitar Lake to Whitney Portal – MEG HIKES
Pingback: Day 6 of the High Sierra Trail: Crabtree Meadow to Guitar Lake – MEG HIKES
Pingback: Day 5 of the High Sierra Trail: Junction Meadow to Crabtree Meadow – MEG HIKES
hello – what month of the year and dates did you do this? I’m going in sept 1st week and wondering what to pack in terms of clothes
LikeLike
August 2021!
LikeLike